Wardrobe Installation in the UK: A Step-by-Step Guide


Planning Your Wardrobe Installation
Installing a wardrobe can transform your living space by maximizing storage and enhancing the room's aesthetics. Before you start, it's crucial to plan the process thoroughly. Consider the space available, the type of wardrobe that suits your needs, and the budget. A well-thought-out plan ensures a smooth installation and a satisfying result.
Begin by measuring the area where you intend to install the wardrobe. Accurate measurements are essential to ensure the wardrobe fits perfectly. Also, decide on the type of wardrobe: built-in or freestanding. Each has its advantages, so choose based on your specific requirements.
Gathering the Right Tools and Materials
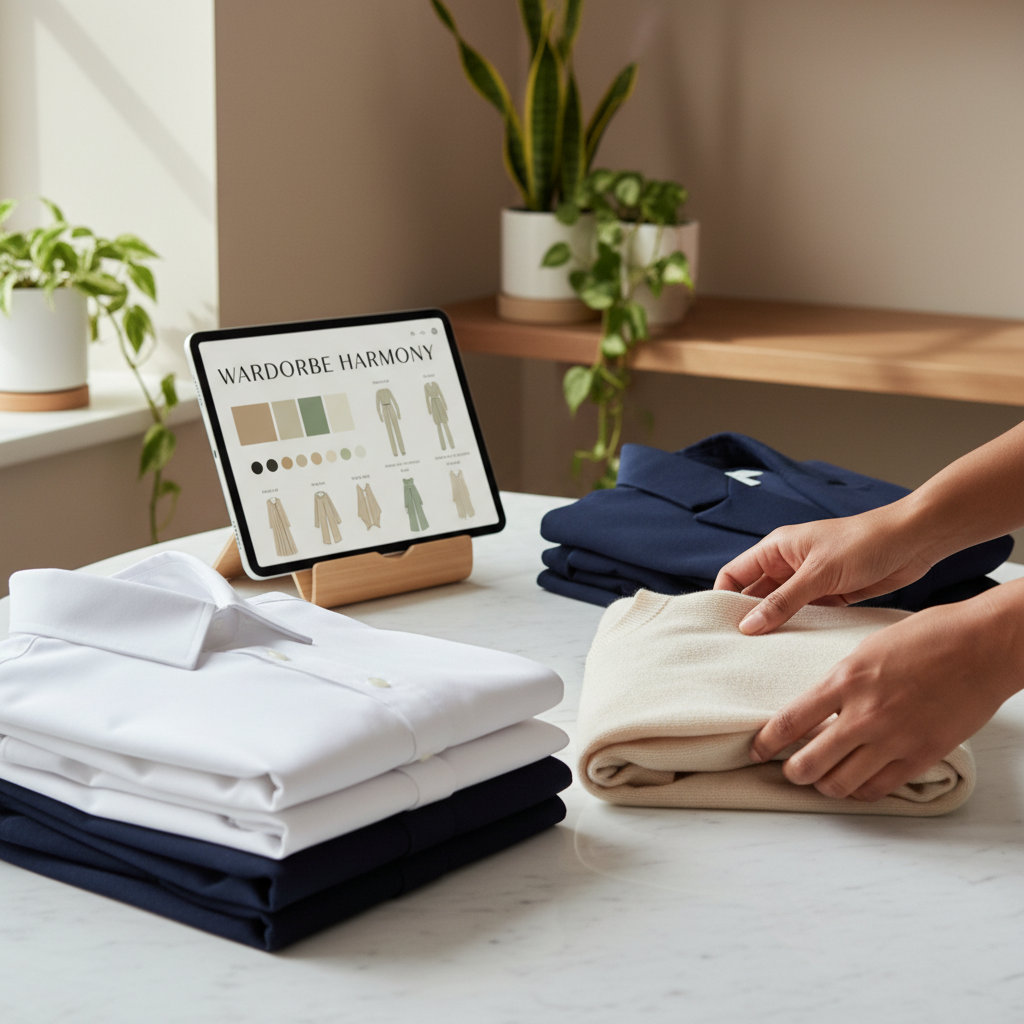
Having the right tools and materials is critical for a successful wardrobe installation. You will need a measuring tape, spirit level, drill, screwdriver, and saw. Depending on the wardrobe design, additional tools might be necessary. Make a checklist to ensure you don't miss anything important.
In terms of materials, ensure you have all the wardrobe components, including screws, hinges, and handles. Double-check the wardrobe kit for any missing pieces before starting the installation. This preparation will save you time and frustration later.
Preparing the Installation Area
Before starting the installation, prepare the area by clearing any obstacles. Remove existing furniture and ensure the floor is clean and level. This step is vital to provide a stable foundation for your wardrobe.
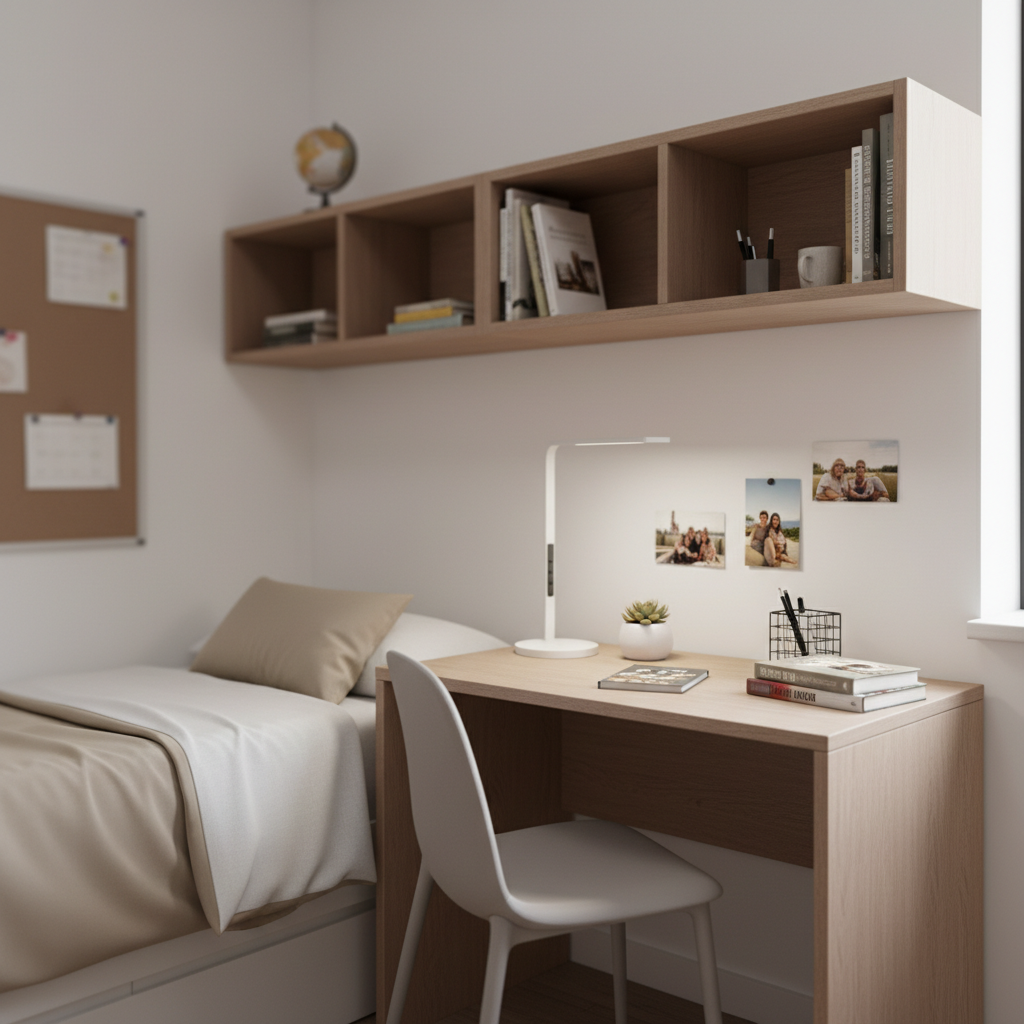
Mark the wall where you will mount the wardrobe. Use a pencil and spirit level to ensure your lines are straight. This ensures that the wardrobe is installed evenly and securely.
Assembling the Wardrobe
With everything ready, it's time to assemble the wardrobe. Follow the manufacturer's instructions carefully. Start by assembling the frame, ensuring every piece is securely attached. Use a spirit level to check that everything is aligned.
Once the frame is complete, attach the back panel and shelves. Ensure they are firmly in place to prevent any wobbling. If your wardrobe includes drawers, assemble and insert them according to the instructions.
Installing the Wardrobe
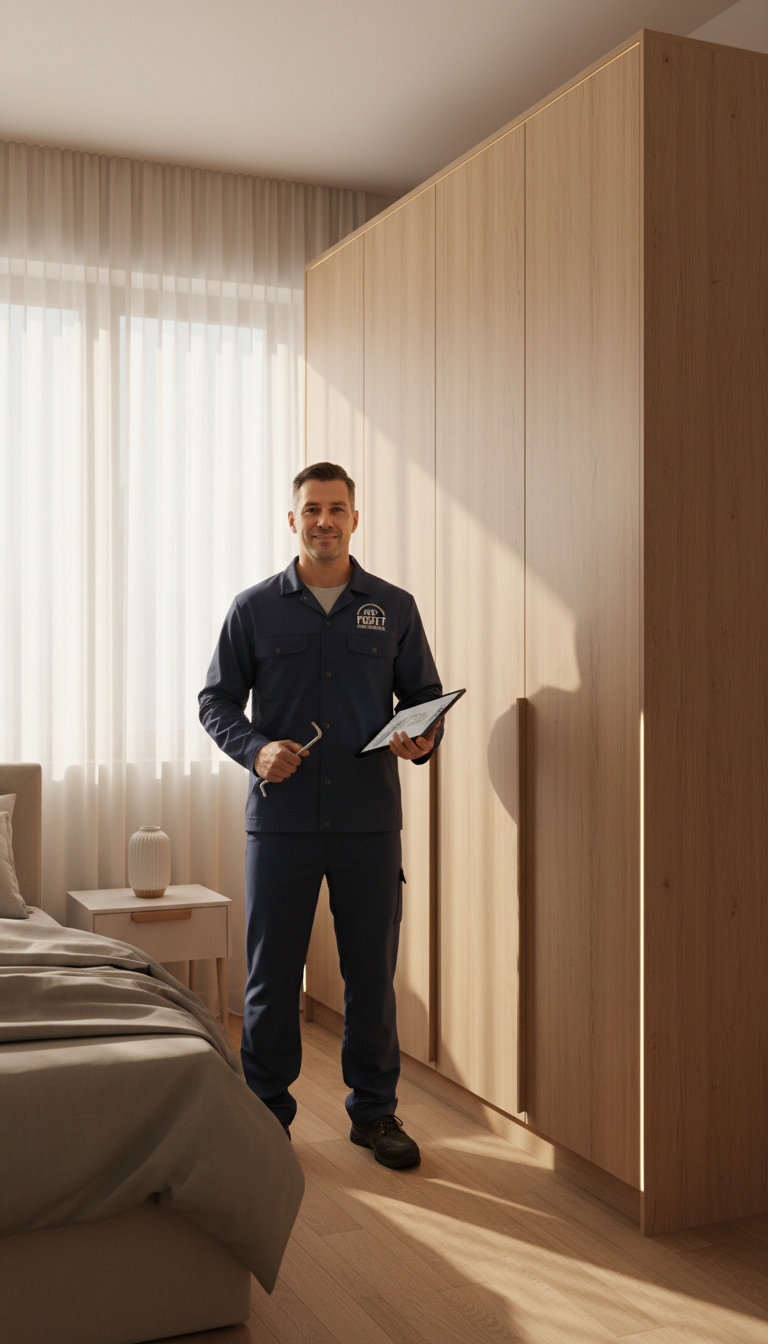
Now that your wardrobe is assembled, it's time to install it. Carefully move the wardrobe into position. If it's a built-in wardrobe, secure it to the wall using brackets for added stability. This step is crucial for safety, especially in homes with children.
Once the wardrobe is secured, attach the doors. Adjust the hinges to ensure the doors open and close smoothly. If necessary, install handles or knobs as the finishing touch.
Final Adjustments and Inspection
After installation, make any final adjustments to ensure everything is functioning correctly. Check that the doors align properly and the drawers slide smoothly. Tighten any loose screws and make sure all components are secure.

Finally, conduct a thorough inspection to ensure the wardrobe is stable and safe. A well-installed wardrobe should enhance your space and provide ample storage for years to come.
Conclusion
Installing a wardrobe may seem daunting, but with careful planning and execution, it can be a rewarding project. By following these steps, you'll ensure a professional-looking installation that meets your storage needs. Enjoy the satisfaction of a job well done and the improved functionality of your room.